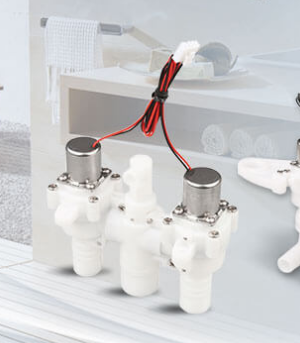
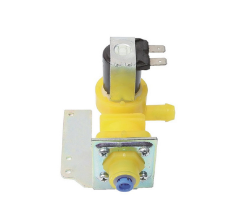
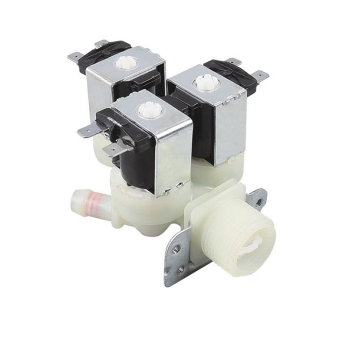
The washing machine has been an inseparable part of our life, now we wash clothes with the washing machine, washing machine water solenoid valve is often damaged, so how to replace the washing machine water solenoid valve?
Full-automatic Maytag washing machine removing the inlet valve cover shall be in accordance with the following order to

(1) taking the two fixed screw on the control panel, launched in the control panel heart clasp for the degree of control panel separately,
(2) remove the cover switch waterproof cover, disconnect the inlet valve and switch of cable fixed inlet valve
(3) remove the two screws and remove the inlet valve J
(4) remove the screw fixed switch, the switch will cover from the cover off.
Replacement should be carried out in the reverse order to disassembly. It is important to note that due to the relationship between the safety lever and the cover switch back to the safety performance of the washing machine, it must be noted that the brake must be reliably actuated when the cover is open 40 to 90 mm. Cover the top so that the waterproof cover is placed reliably and do not forget to put the sponge back on the inlet.

After putting in the clothes, open the valve of the inlet cock, select the correct water level and working procedure, switch on the power, close the bin door, and close the door safety switch. At this time, the public contact inside the water level switch is connected with the dewatering contact, and the inlet valve is energized to feed water.
When the water level in the bucket reaches the specified height, under the action of air pressure, the public contact inside the water level switch disconnects the dewatering contact and closes the washing contact. The water inlet valve shuts off and stops the water inlet, and the motor power is connected.
The motor starts to operate periodically, sometimes turning forward and sometimes reversing, alternating with each other. The wave wheel is driven by the clutch with the same cycle of turning forward and reversing. The wave wheel rotating at a certain speed will drive the water in the bucket and the clothes to form a rotating water flow.
When the washing process is completed, the drainage solenoid valve is energized, the drainage valve is opened, the water in the barrel is discharged, and the linkage bar also switches the clutch from the washing state to the dewatering state.
When the drainage is completed, the atmospheric pressure in the bucket drops, the public contact of the water level switch is reset and connected to the dehydration contact, the drainage solenoid valve continues to maintain the energized state, the electric motor is powered to drive the bucket to rotate at high speed and dry the clothes, the washing machine disconnects the water and electricity and stops after the washing process. As for how many times to wash the intermediate process, the length of the laundry time, by the program control.

1, first with a small word screwdriver to open the beautiful cover.
2. Then use the cross screwdriver to unscrew the screw. Cross screwdriver with 30~40 cm long more labor-saving and convenient. Some screws are universal with a single screwdriver and a cross screwdriver. The counterclockwise direction is unscrewed. The screw is often very tight, and even when the screw is turned, the wheel will follow, then you can use a foot on the wheel.
3, screw out, pay attention to the connection line of the inlet valve, and the motherboard disconnect, then you can remove the inlet valve, take out the new inlet valve, according to the previous connection line connection position, reconnect with the motherboard.
4. Follow the reverse direction of the above steps to complete the replacement.